Plan in rows
Plan your PySimpleGUI apps in rows. Please note - this page might make more sense after you try a few simple coding examples using PySimpleGUI first:
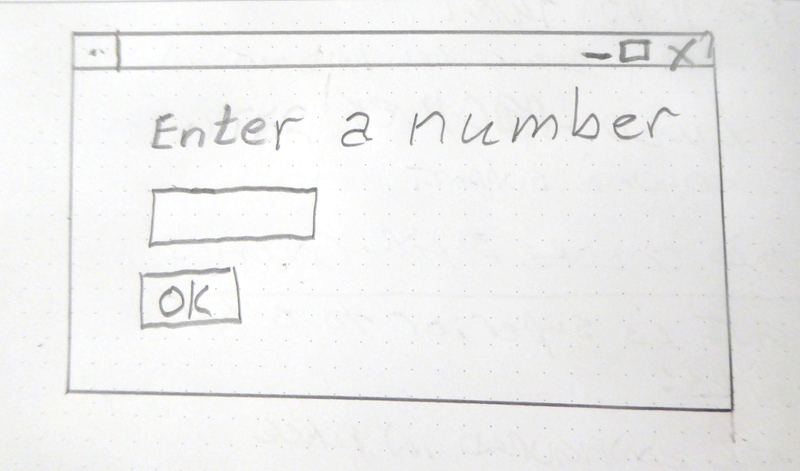
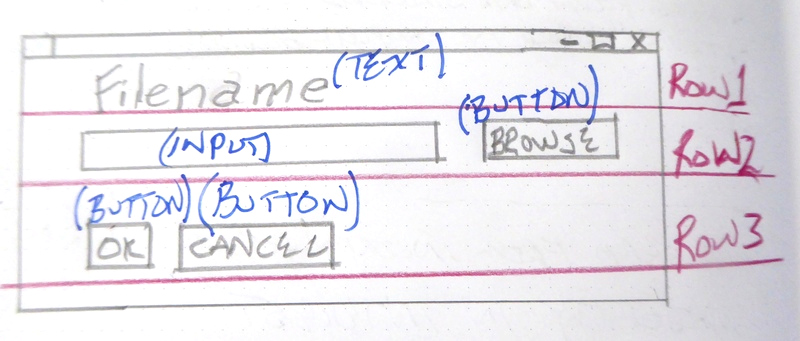
Step 1: Plan GUI -
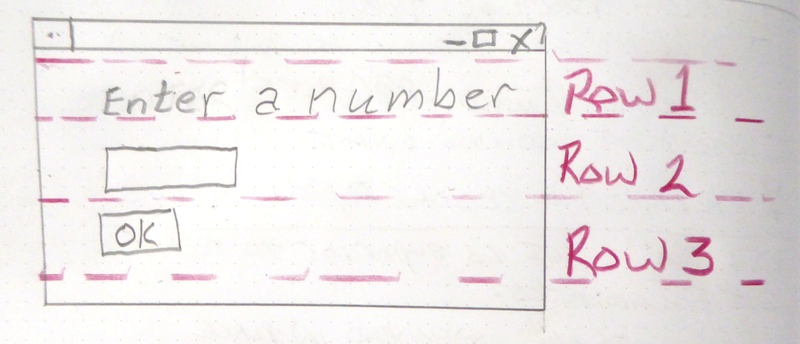
Step 2: Split into Rows -
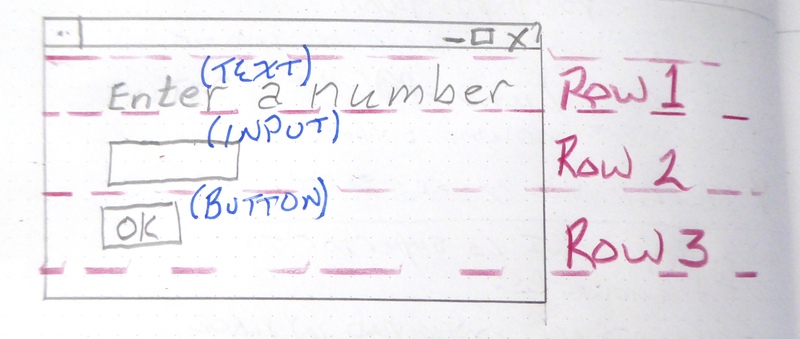
Step 3: Decide on Elements -
Step 4: Code!
You will find coding examples in the next lesson. Keep in mind PySimpleGUI works in rows.
Alternative Example:
Plan GUI -
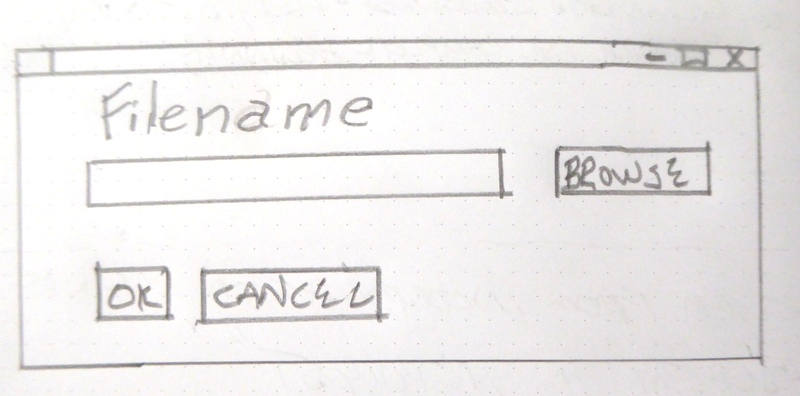
Rows and Elements -
You can have multiple elements on the same row!