Eye Movie Clip
This tutorial builds on the last, and introduces motion guides as well as layers into movie clips.
1. New flash document...
2. Click "Insert", select "New Symbol"... change the name to "Eye" and make it a movie clip.
3. Inside the Eye movie clip, draw the background of an eye in the layer on the bottom (as illustrated below). We want the pupil of the eye to move, and also we want it to appear on top of the background - two very good reasons why we need to create a new layer called "Pupil in Eye" above the "Eye Background" layer (also illustrated below).
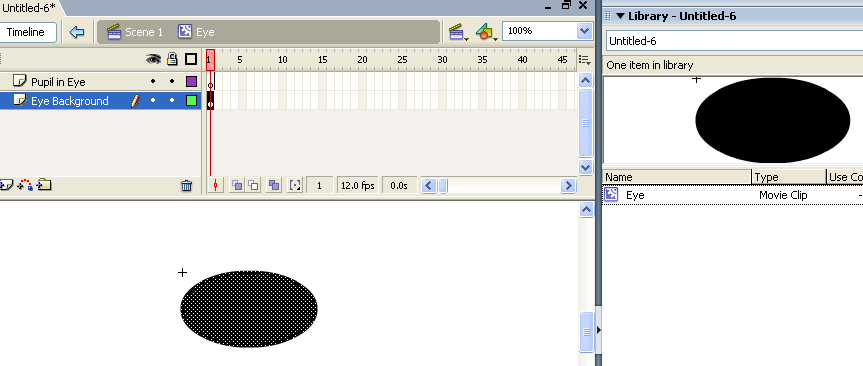
4. Click "Insert", select "New Symbol"... change the name to "Pupil" and make it a graphic.
5. Draw yourself an eye pupil:
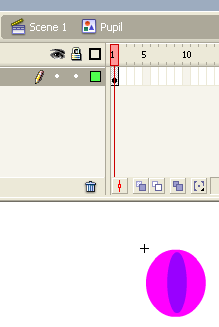
6.Double click the "Eye movie clip" icon to re-enter the eye movie clip. Select frame 1 in the timeline of the "Pupil in Eye" layer and drag and drop the Pupil graphic into the layer... as shown below:
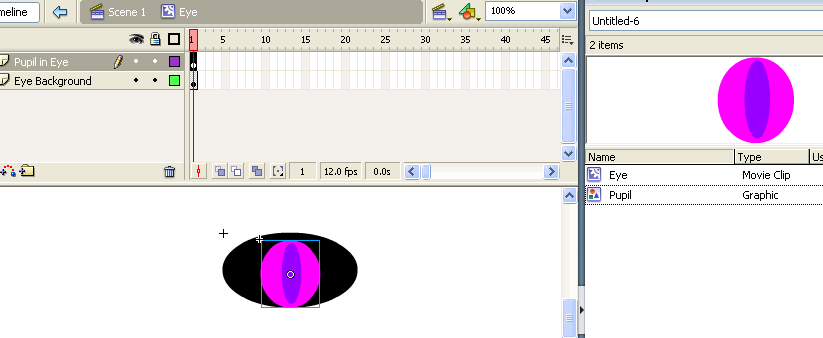
7.Insert a "frame" (also known as a normal frame, a plain frame, a blank frame or just a frame!) into frame 10 of our "Eye Background" layer, as shown below. This is because we don't want our background to disappear when the eye starts moving!

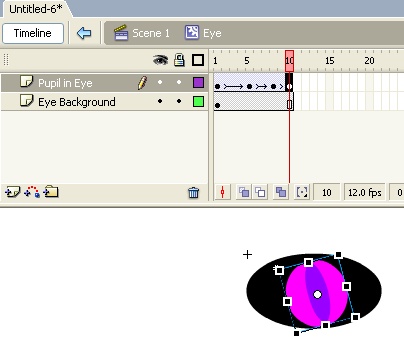
8. Now make the eye appear to jump around inside the eye background by using motion tween and keyframes (as shown in the "Pupil in Eye" layer below). Use free transform to rotate the eye for an interesting effect. Again, see what happens if you change the rotation point...
9. Click back to Scene 1. You will need to create 3 layers - Clouds, Eye and Text. Draw clouds and write text in their corresponding layers, extended both layers' frame count out to 35 on the timeline... as shown here:
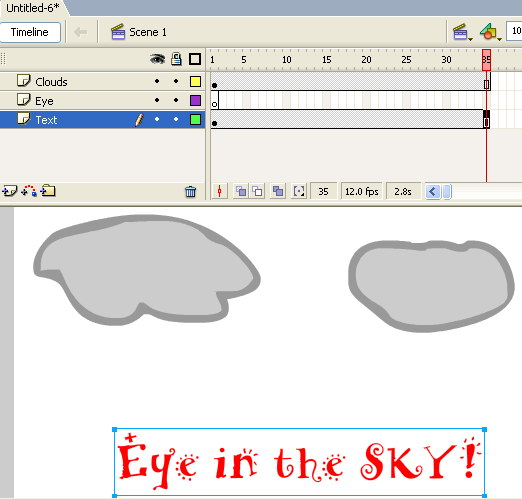
10. Hide the clouds layer by clicking on the dot below the eye, as shown below. This will help you see more clearly where your eye is going!
![]()
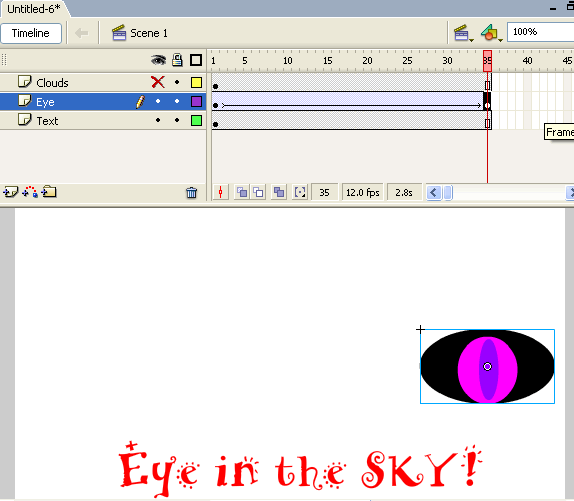
11. Position the timeline cursor on frame 1 of the "Eye" layer, and drag and drop the Eye movie clip symbol onto the far left of the main stage. Then insert a keyframe in frame 35 of the same layer, move the eye movie clip symbol across the stage to the far right and create a motion tween (as you did in the previous exercise). Does your flash screen look something like this? -
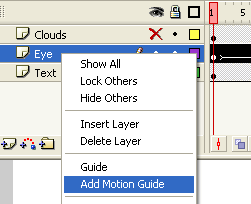
12.Position the timeline cursor back in frame 1 of the Eye layer. Right-click on the "Eye" layer (as shown below) and select "Add Motion Guide":
13. Click in frame 1 of the "Guide: Eye" layer, grab your pencil and get ready to draw!
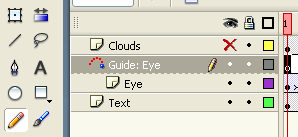
14.Draw a motion guide for the eye with your pencil... did you end up with something like this? -
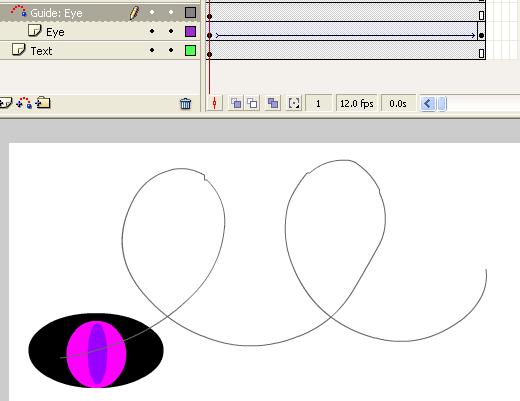
15.Grab the arrow tool in the top left of the drawing tools... and click on the eye at each end of the "Eye" layer (not the guide layer). Make sure the rotation point (the dot in the middle) of the Eye movie clip symbol is attached to the motion guide path... if not, click on the eye movie clip and drag it by it's rotation point onto the motion guide until it "sticks" - as illustrated here:
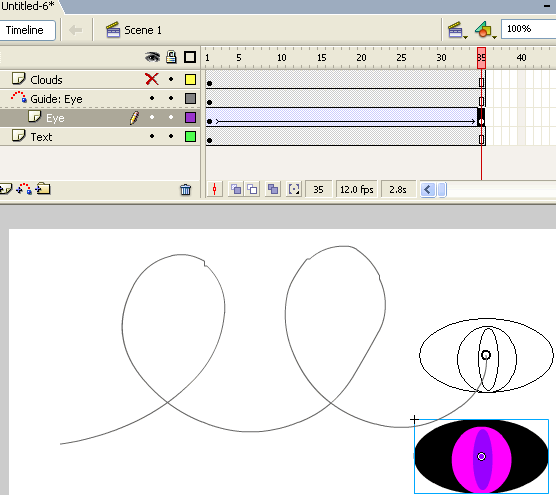
10. Control --> Test Movie.. What do you think? Save as eye_mc.fla