Wheels Movie Clip
OK, this one is your assignment, so wont be too in-depth here!
1. New flash document...
2. Click "Insert", select "New Symbol"... change the name to "Rolling" and make it a movie clip.
3. Click "Insert", select "New Symbol"... change the name to "Wheel" and make it a graphic.
4. Draw yourself a wheel (one that looks better than this anyway!):
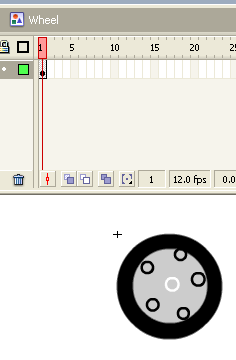
5. Double click the Rolling movie clip icon, and drag and drop the wheel graphic symbol onto the 1st frame. Set the rotation point to the middle of the wheel if you need to using free transform.
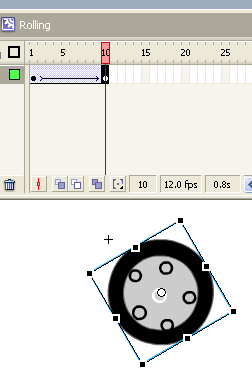
6. Create a keyframe later in the wheel timeline. Rotate the wheel on its spot using free transform, then motion tween. Check the rotation - you may need to play around with the rotation more to get it looking "right"!
7. Go back to Scene 1, create 2 layers - "Wheels" and "Chassis". Note - this is one of the rare times we will put 2 symbols into the same layer together - only because the front and back wheels move identically, it will make it easier to control them if they are together...
8. Click "Insert", select "New Symbol"... change the name to "Chassis" and make it a graphic.
9. Draw yourself a chassis:
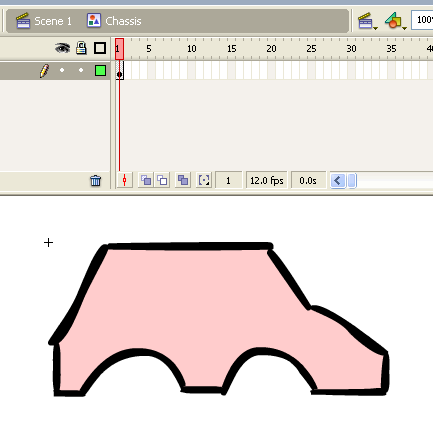
10. Back to Scene 1... drop the "Chassis" graphic symbol into the Chassis layer, put a keyframe in frame 25, then move the Chassis across the stage and motion tween it (as shown here):
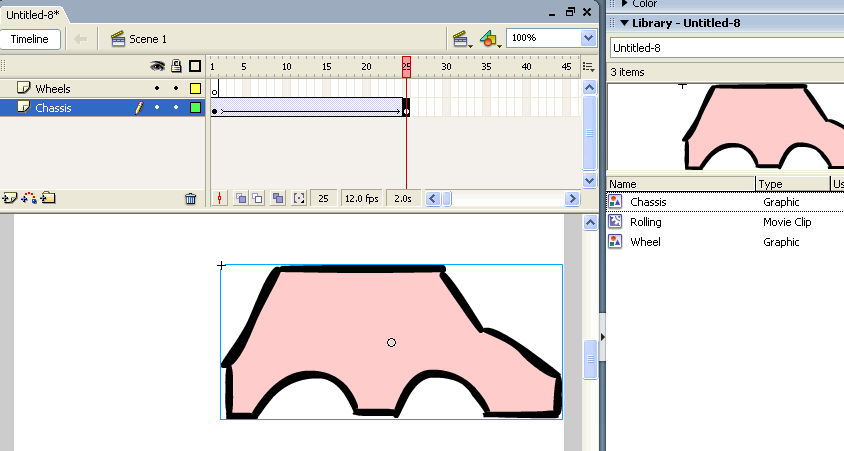
11. Position the timeline cursor on frame 1 of the "Wheels" layer... and drop the "Rolling" movie clip twice onto the stage so the wheels fit in the right place with the chassis...:
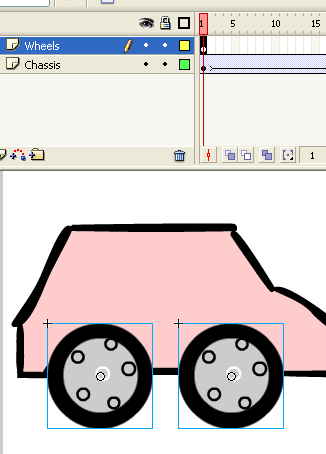
12.Put a keyframe in the "Wheels" layer frame 25. Move the wheels together so they still fit the chassis at the end of the animation. Finally, motion tween the movement of the wheels -
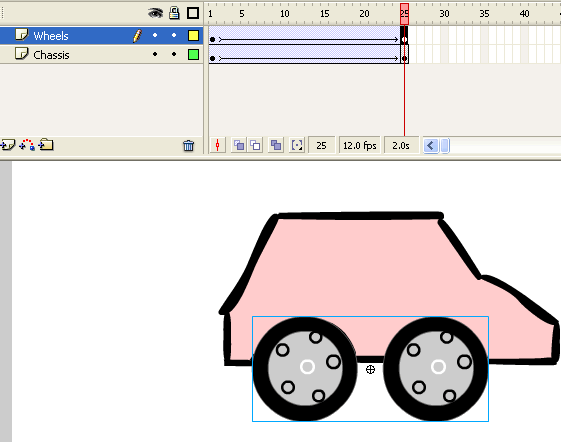
10. Control --> Test Movie.. What do you think? Save as wheels_mc.fla